


Fiona Partington
2023-01-03
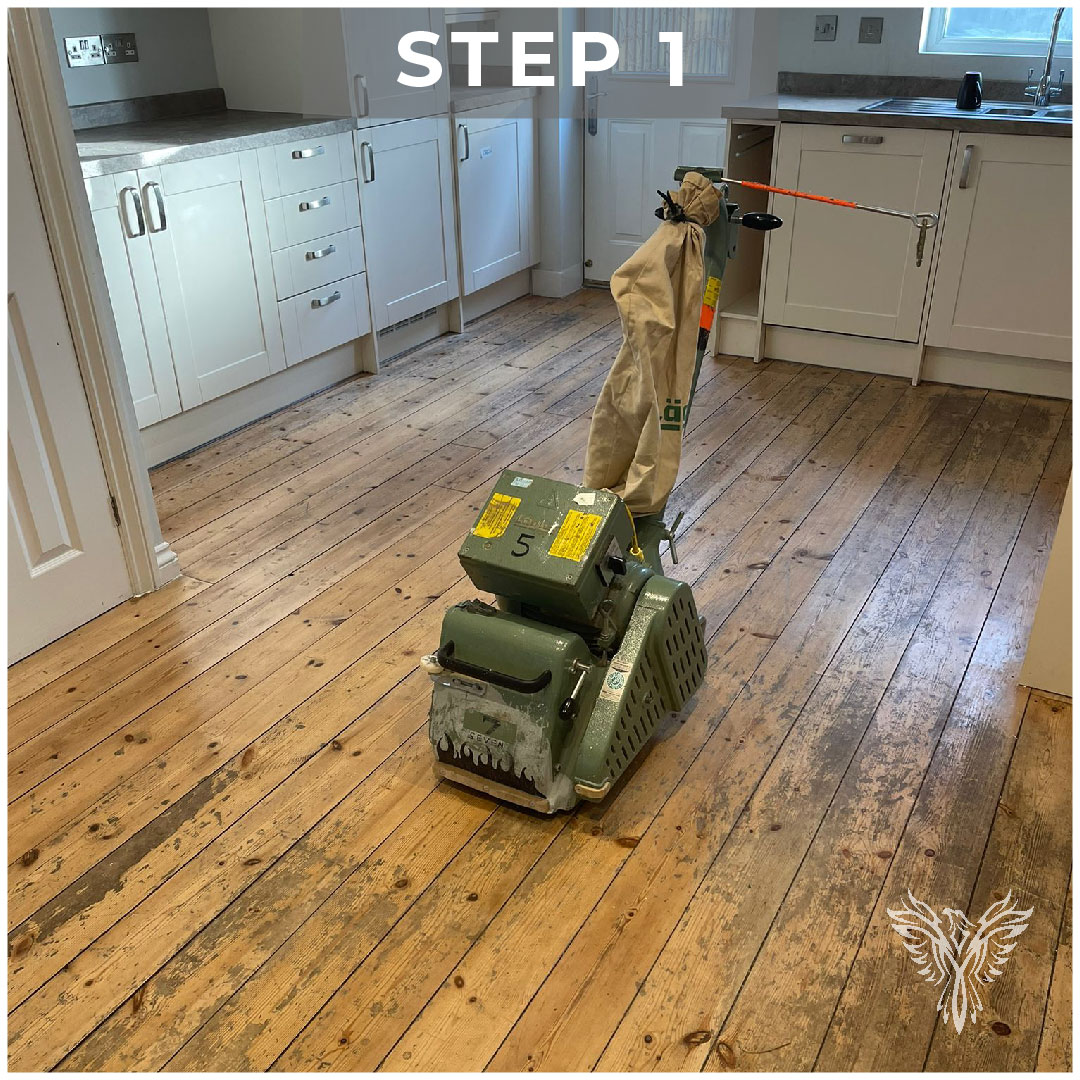
I’m a firm believer that when you buy a home you need to be able to make it feel like you
As fast as possible! The kitchen oak parquet floor was the final piece of the jigsaw. Ryan’s did a phenomenal job of bringing life back into the space which had become a little tired and dull. Now the kitchen feels warm and inviting. I would not hesitate in recommending them.

Eleanor Swain
2022-12-29
Laurence, Ash and Adam have transformed our home, so a massive thank you to them for their professionalism, hard work, high standards, efficiency, communication, coffee appreciation and great company.
We had all our floorboards restored, requiring expert sanding, filling and staining.
Cannot recommend enough.

Hannah Cykowski
2022-10-17
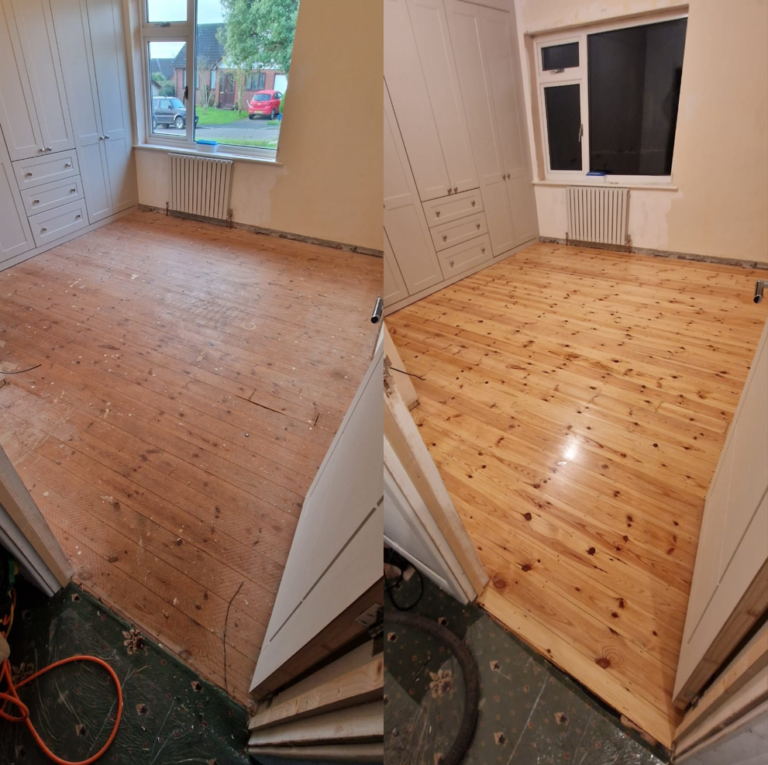
James initially came out for a free consultation and then Sam came to restore our floorboards in the bedrooms upstairs. We literally don't know how Sam has done it, it's like some sort of sorcery! The floorboards were uneven, creaky, broken, cracked - you name it. They're now perfectly flat and smooth and have come out in a glorious colour - so much better than we had expected. Bryanna was incredibly responsive in getting everything organised and we're so pleased with the final result. Happy customers all round!

Lou ise
2022-10-14
Very happy with the work on my floorboards, turned out even better than I expected.

LIZ BULL
2022-07-22
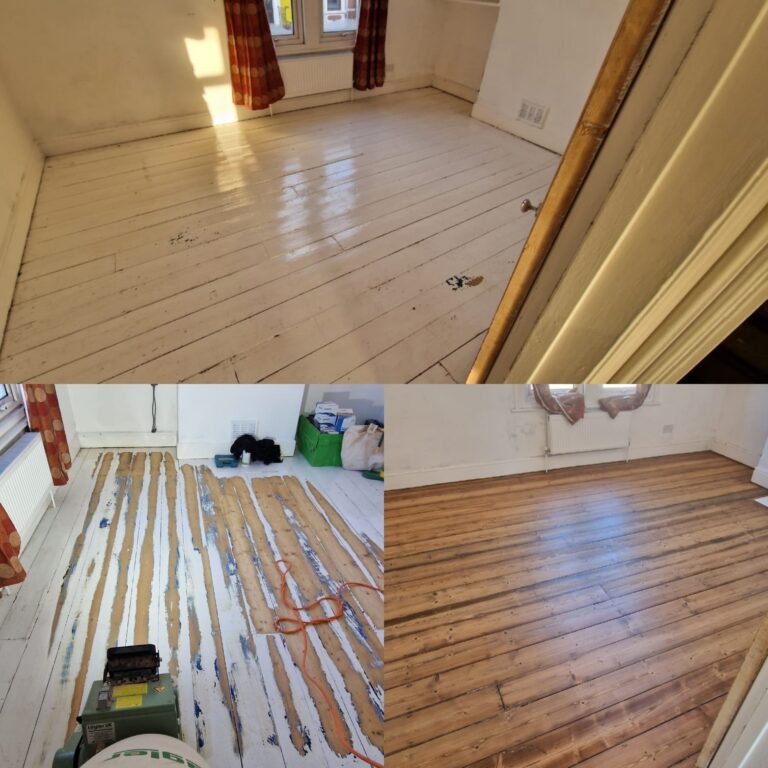
Ryan’s Restoration did a wonderful job of stripping and restoring our old pine floors - some of which had been under tiles for years.
Would completely recommend.

Laura Piper
2022-07-22
This is the second time we have used Ryan’s Restoration. Firstly to re-sand our floor and then more recently to replace a floorboard after taking a wall down. They managed to patch in the gap to our original stain without issue. Quick, easy and no mess! Would recommend 100 times over! Thanks All!!

Ulrich Nieuwenhuis
2022-07-13
They renovated our old reclaimed wood floor in Church House Dental Practice. Brilliant job and we receive a lot of compliments from our patients.

Rod Hammett
2022-07-11
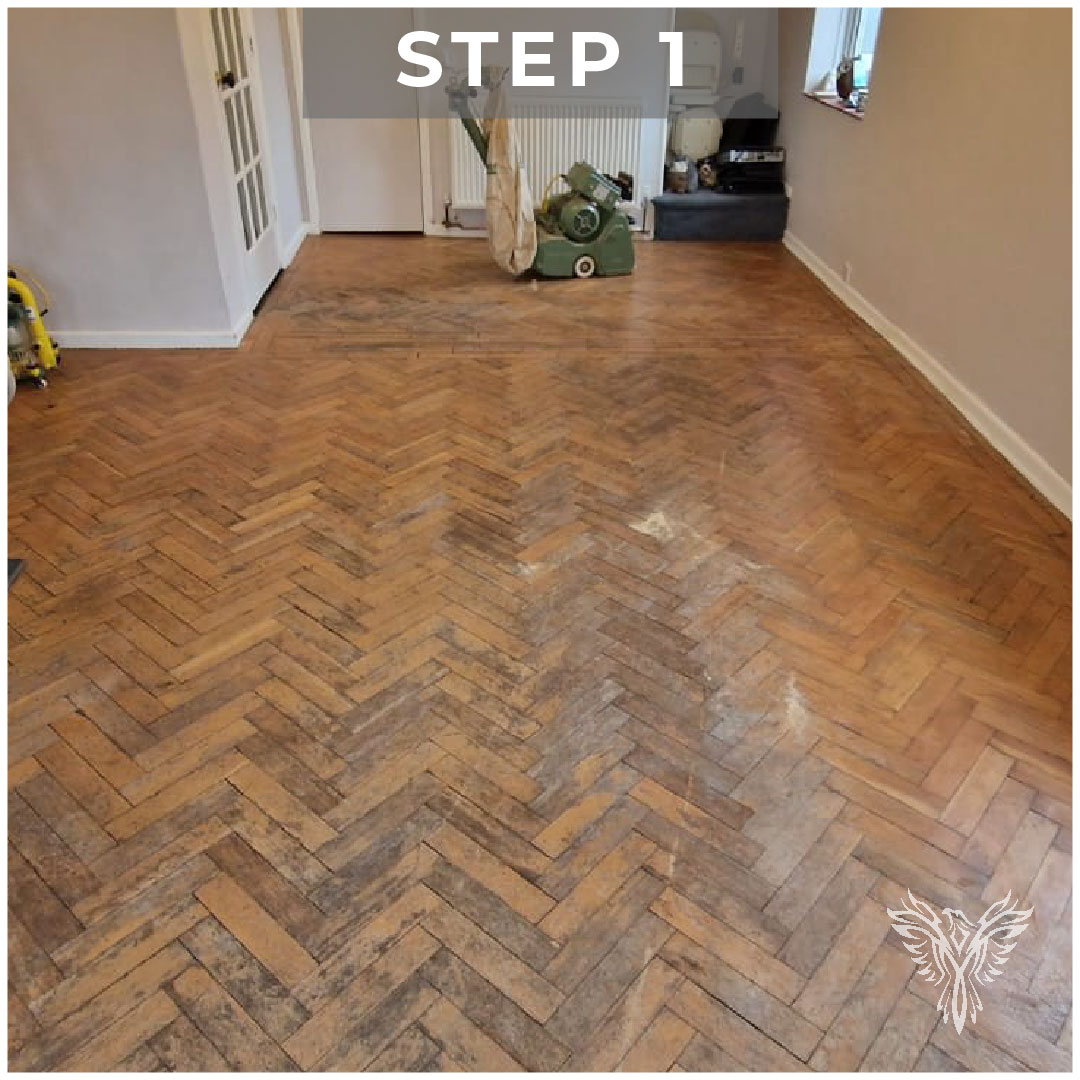
Would recommend Ryans restoration very highly. The dining room floor had taken many years of abuse from paint, plaster and plumbers and was in a bad way. They have sanded it down to a beautiful finish without the mess and dust that I was expecting and stained and sealed it to a high standard and it looks fantastic. Great service.

L Perry
2022-07-11
fantastic customer service.
very knowledgable and they know what they are doing
would highly recommend to anyone and will always pass on their information to anyone who needs this sort of work
and excellent standard of high professional standards

Stephanie Scott
2022-07-07
Excellent company, happy to recommend Ryan's to anyone looking for professional wooden floor restoration. The only company I spoke to who came out to look at the job and discuss my requirements. Then give me a proper quote not an estimate. The work was done as requested and I'm very happy with the result. Thank you to all the team at Ryan's.